Solr入门
Solr入门
1. 简介
Solr是基于Lucene全文搜索引擎
2. 安装
下载安装(我下载的是7.7.3版本)
下载二进制包(Binary releases) 不要下载源码包(Source release) 否则启动可能遇到问题
目录结构
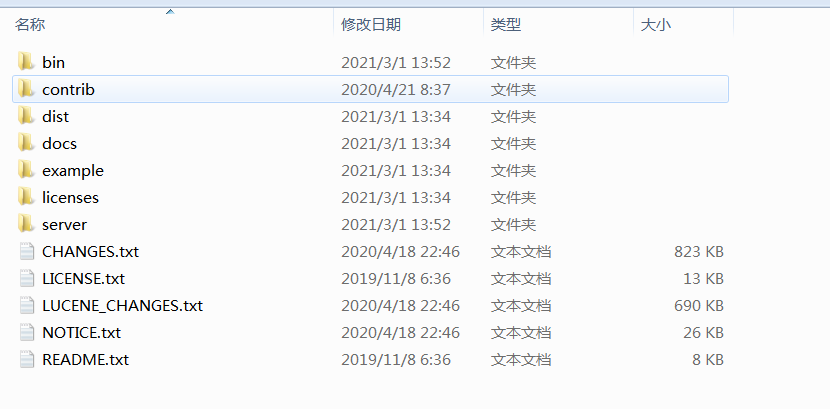
image-20210301153307778 - bin: 启动和停止服务器的脚本
- example:示例
- server/logs 文件夹: 所有solr 日志都写入该文件夹
- server/solr 文件夹:包含不同的集合或核心(core/collection)。对于各集合或核心的配置和数据都存储在相应的集合或核心文件夹、
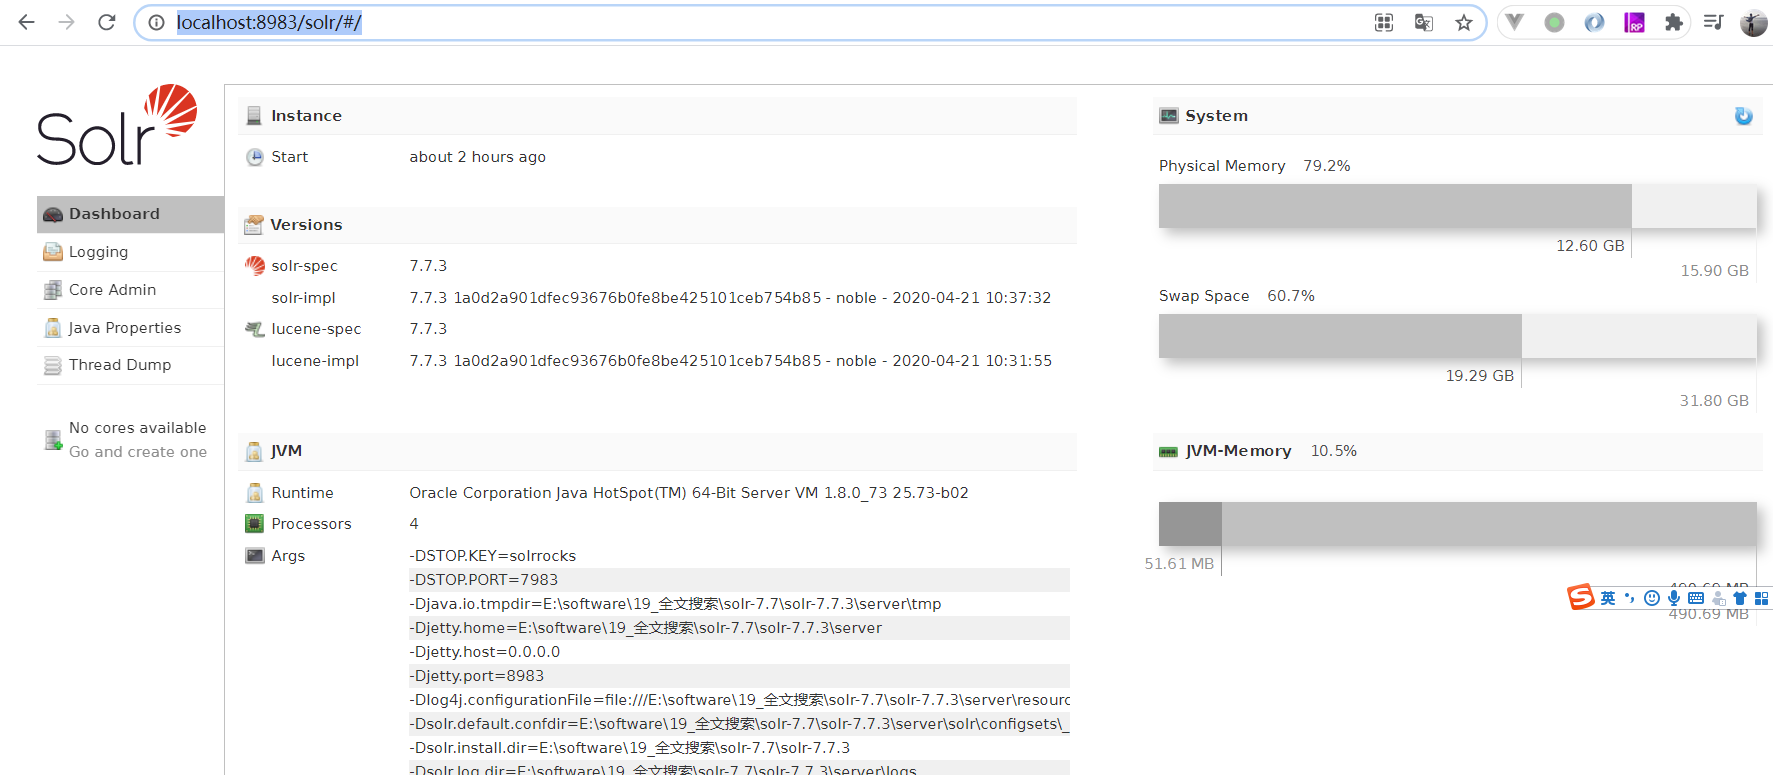
3. 启动Solr
solr 内置 Jetty服务器 ,可以直接启动
在bin目录下
solr start
默认端口为8983
4. 配置Solr
4.1 建立核心(core)
4.1.1 方式1:命令行建core
核心:独立模式下启动的配置称为核心
集合:在SolrCloud模式启动的配置称为集合
首先,创建一个核心的索引数据
solr create:-c <name>:要创建的核心或集合的名称(必需)。-d <confdir>:配置目录,在SolrCloud模式非常有用。-n <configName>:配置名称。这将默认为核心或集合的名称。-p <port>:本地Solr的实例的端口发送create命令; 默认脚本试图通过寻找运行Solr的实例来检测端口。-s <shards>:Number of shards to split a collection into, default is 1.-rf <replicas>:集合中的每个文件的份数。默认值是1。
使用核心名称-c参数。对于所有其它参数使用默认设置。
solr create -c jcg
JCG核心被填充在核心选择器上。
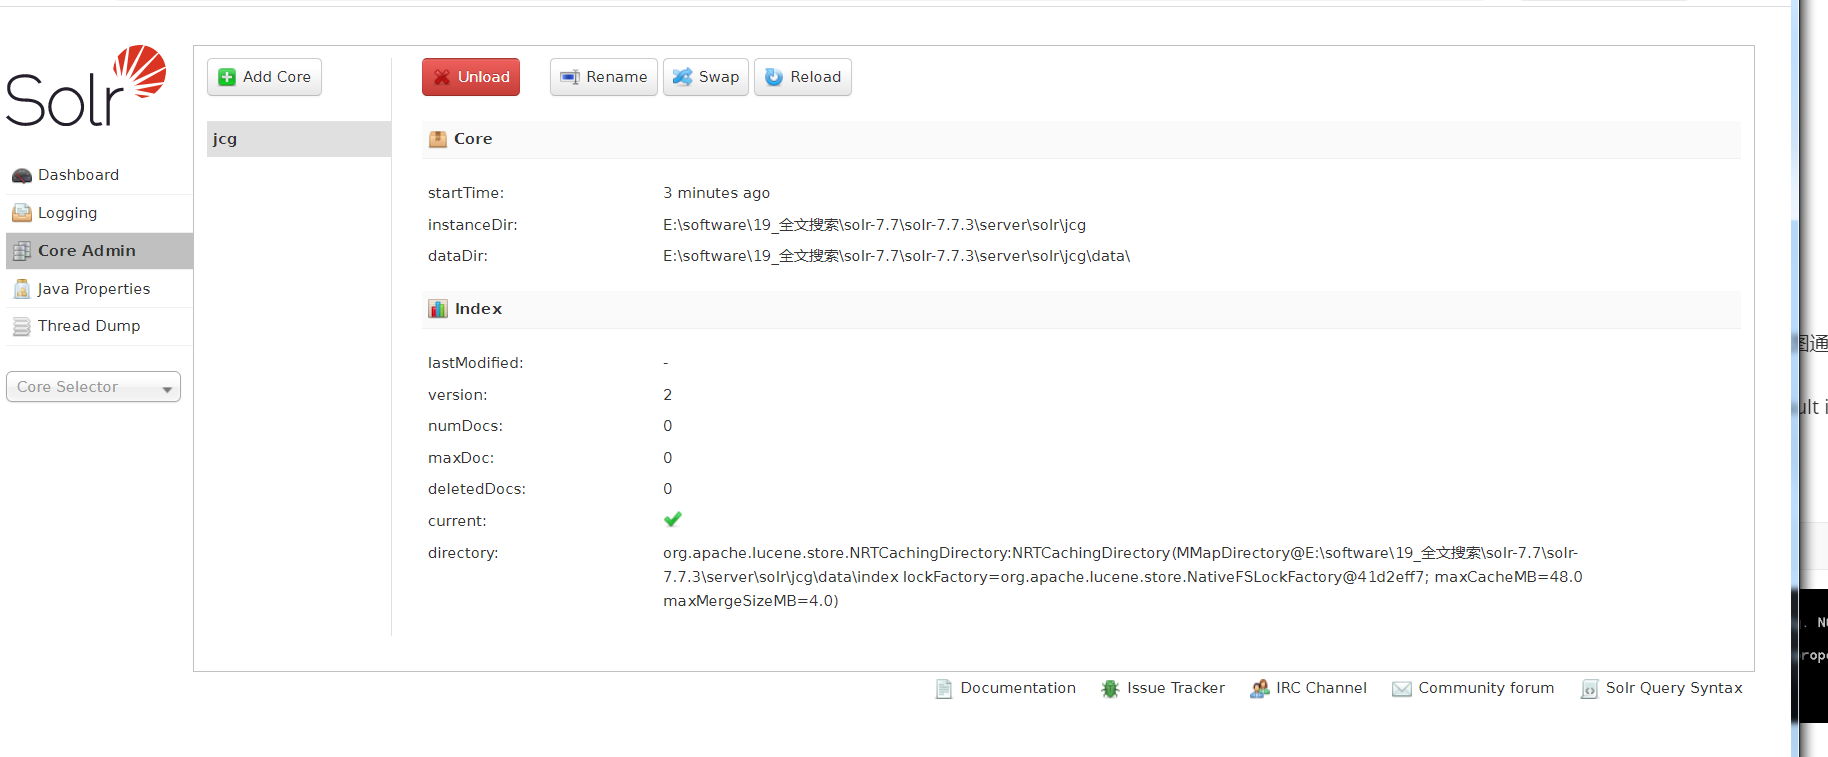
4.1.2 方式二:界面操作
在core admin上点击new core新建

image-20210304151629768 此时会提示**'solrconfig.xml** 文件找不到

image-20210304151726594 此时我们去安装目录下,可以看到已经新建了一个core目录。

image-20210304151943980 报错是因为需要的配置文件不存在,我们去拷贝过来即可。
进入F:\solr-7.7.3\server\solr\configsets_default 目录下,把conf文件夹copy到
F:\solr-7.7.3\server\solr\new_core 目录下,然后再执行Add core。
然后等待1-2s,会进入以下界面:

image-20210304152230352
4.2 修改Schema.xml 文件
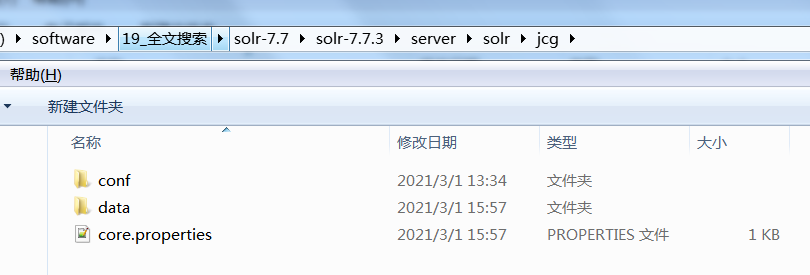
- conf : 保存核心配置
- data: 索引数据
solr-7.7.3\server\solr\jcg\conf\managed-schema中添加如下内容:
  <field name="cat" type="text_general" indexed="true" stored="true"/>
    <field name="name" type="text_general" indexed="true" stored="true"/>
    <field name="price" type="double" indexed="true" stored="true"/>
    <field name="inStock" type="boolean" indexed="true" stored="true"/>
<field name="author" type="text_general" indexed="true" stored="true"/>indexed: 为true指定字段被索引。stored指定字段是否被存储。
4.3 重启服务器
修改配置必须重启服务器
solr stop -all重启服务:
solr start4.4 索引数据
Apache Solr自带SimplePostTool的程序。
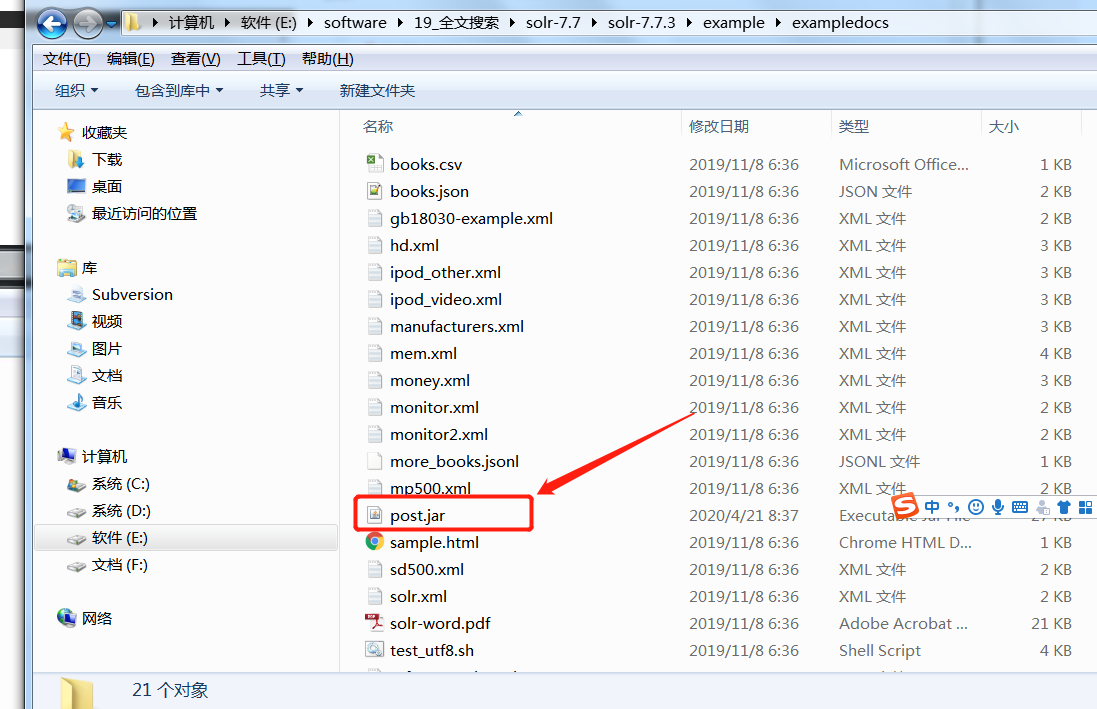
java -jar post.jar -h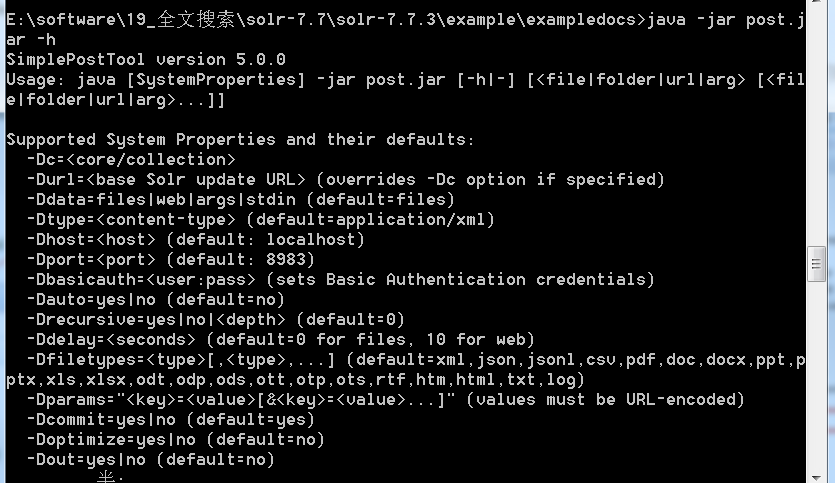
索引数据:
java -Dtype=text/csv -Durl=http://localhost:8983/solr/jcg/update -jar post.jar books.csv-Dtype
数据文件的类型。
-Durl
JCG核心的地址。
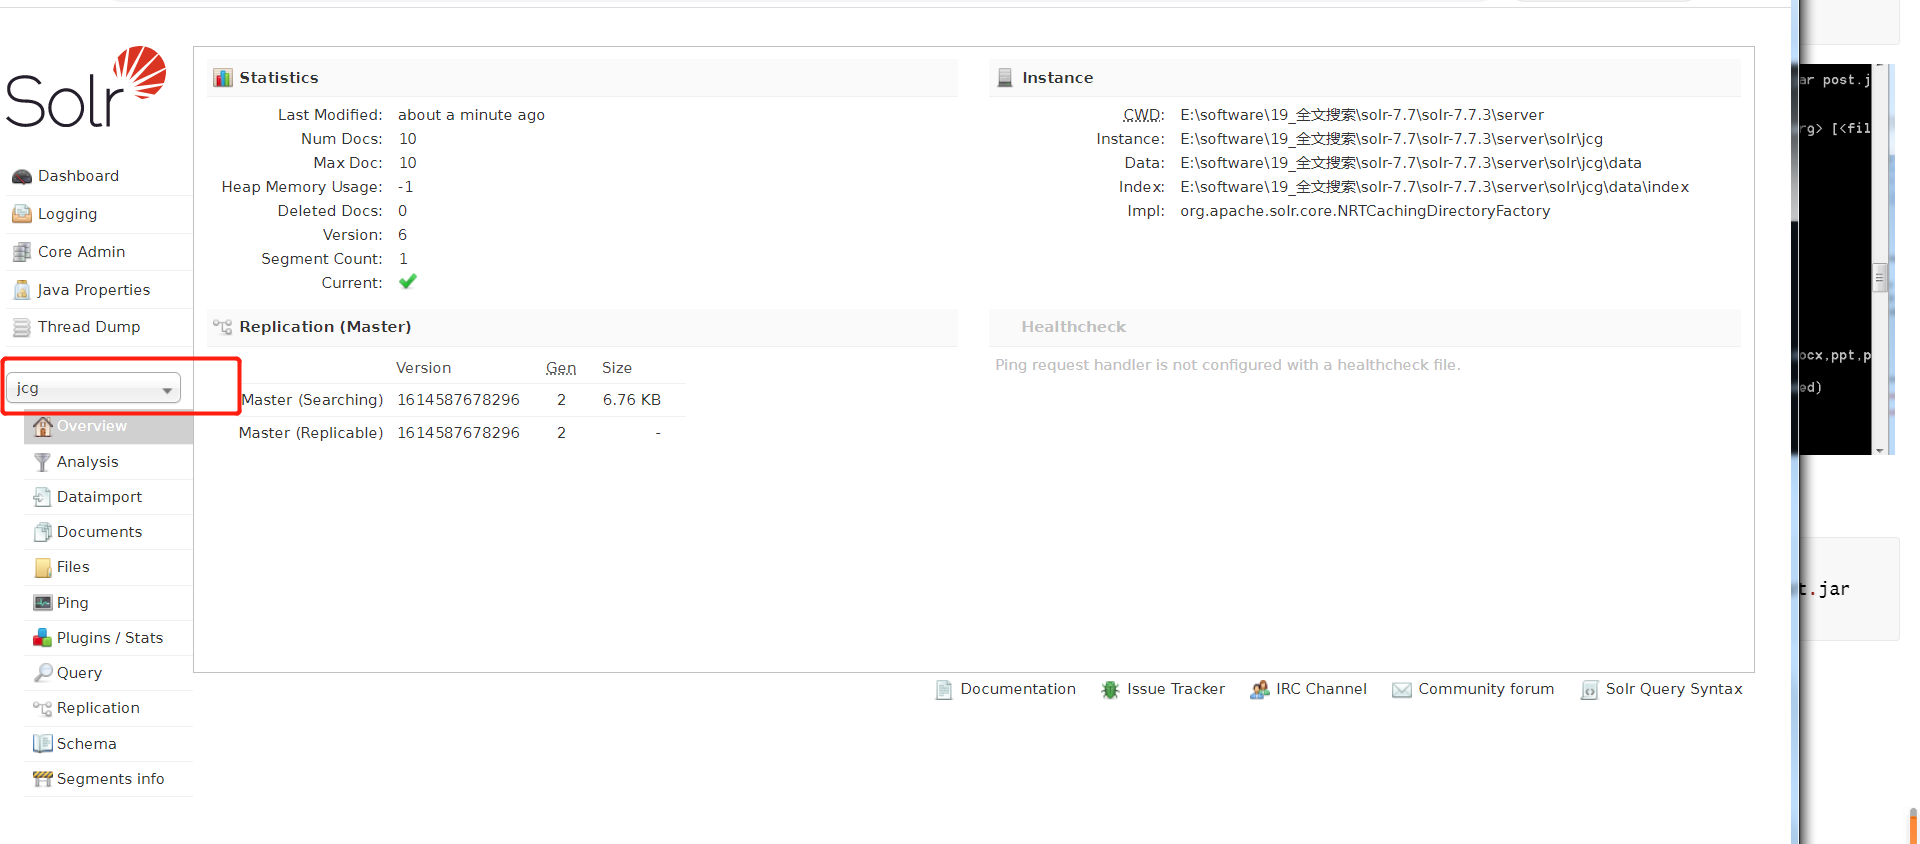
导航到以下网址并选择核心JCG:
5. 搜索
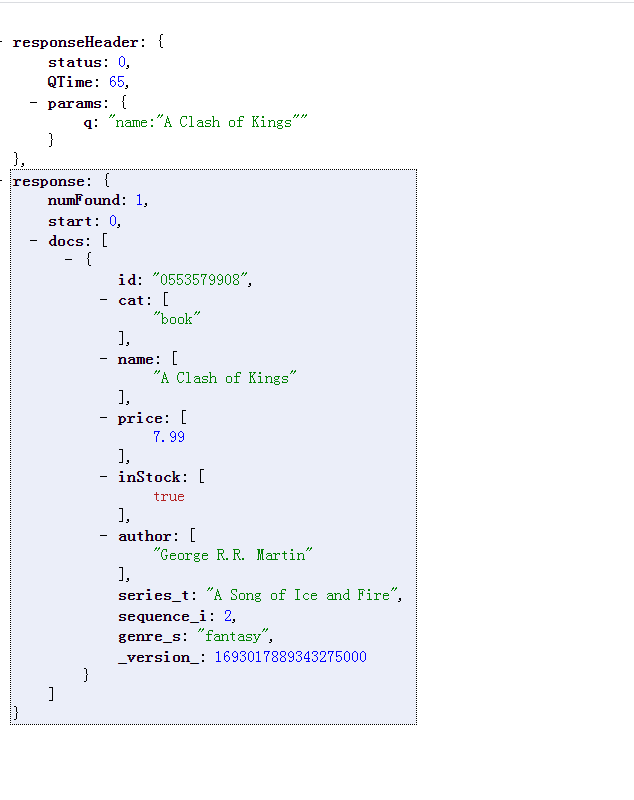
5.1 按名称搜索
http://localhost:8983/solr/jcg/select?q=name:"A Clash of Kings"
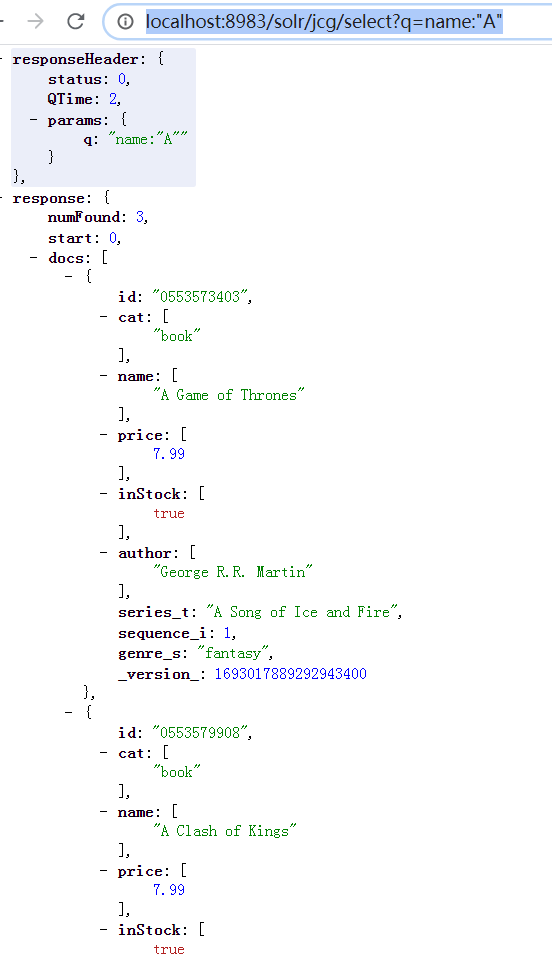
5.2 首字母搜索
http://localhost:8983/solr/jcg/select?q=name:"A"
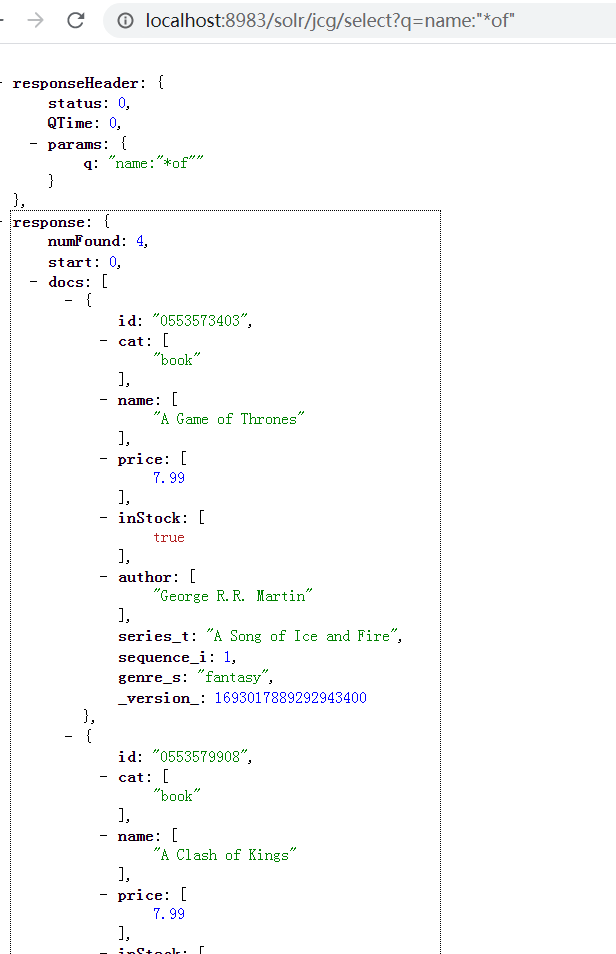
5.3 使用通配符
http://localhost:8983/solr/jcg/select?q=name:"*of"
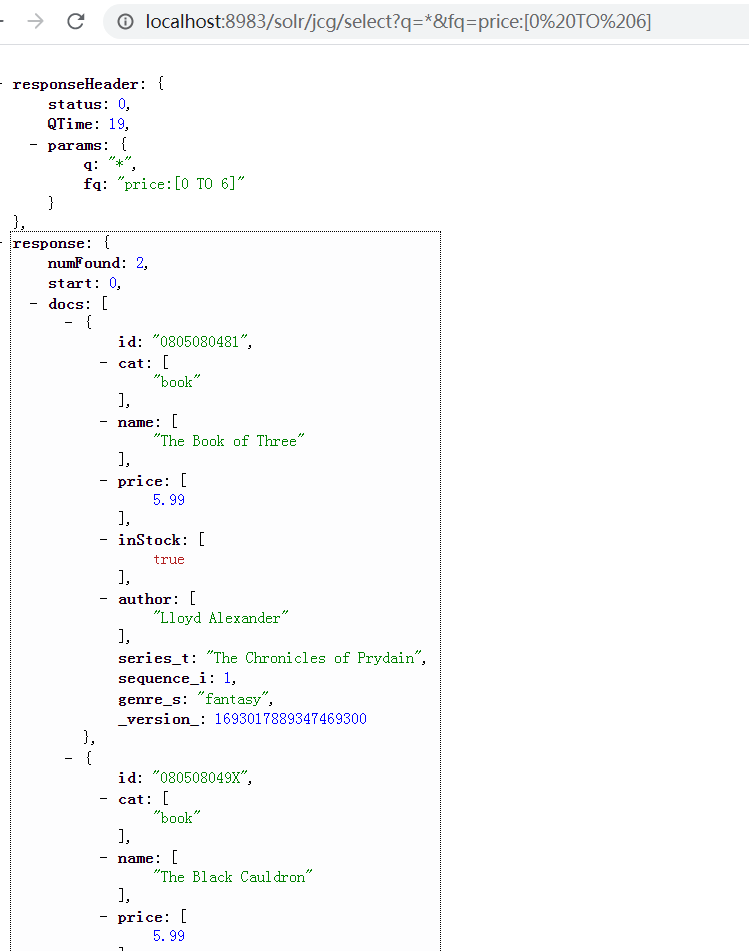
5.4 使用条件
如何查询价格低于¥6的书。
http://localhost:8983/solr/jcg/select?q=*&fq=price:[0 TO 6]
6. Solr 页面进行查询


