ES详解 - 入门:查询和聚合的基础使用
ES详解 - 入门:查询和聚合的基础使用
安装完ElasticSearch 和 Kibana后,为了快速上手,我们通过官网GitHub提供的一个数据进行入门学习,主要包括查询数据和聚合数据。
1. 入门:从索引文档开始
- 索引一个文档
PUT /customer/_doc/1
{
  "name": "John Doe"
}
为了方便测试,我们使用kibana的dev tool来进行学习测试:

查询刚才插入的文档

2. 学习准备:批量索引文档
ES 还提供了批量操作,比如这里我们可以使用批量操作来插入一些数据,供我们在后面学习使用。
使用批量来批处理文档操作比单独提交请求要快得多,因为它减少了网络往返。
- 下载测试数据
数据是index为bank,accounts.json 下载地址(如果你无法下载,也可以clone ES的官方仓库,然后进入/docs/src/test/resources/accounts.json目录获取)
最新版本已经改了,可以在7.11以前的 版本上下载
数据的格式如下
{
  "account_number": 0,
  "balance": 16623,
  "firstname": "Bradshaw",
  "lastname": "Mckenzie",
  "age": 29,
  "gender": "F",
  "address": "244 Columbus Place",
  "employer": "Euron",
  "email": "[email protected]",
  "city": "Hobucken",
  "state": "CO"
}- 批量插入数据
将accounts.json拷贝至指定目录,我这里放在/opt/下面,
然后执行
curl -H "Content-Type: application/json" -XPOST "localhost:9200/bank/_bulk?pretty&refresh" --data-binary "@/opt/accounts.json"- 查看状态
[elasticsearch@pdai-centos root]$ curl "localhost:9200/_cat/indices?v=true" | grep bank
  % Total    % Received % Xferd  Average Speed   Time    Time     Time  Current
                                 Dload  Upload   Total   Spent    Left  Speed
100  1524  100  1524    0     0   119k      0 --:--:-- --:--:-- --:--:--  124k
yellow open   bank                            yq3eSlAWRMO2Td0Sl769rQ   1   1       1000            0    379.2kb        379.2kb
[elasticsearch@pdai-centos root]$
3. 查询数据
我们通过kibana来进行查询测试。
3.1 查询所有
match_all表示查询所有的数据,sort即按照什么字段排序
GET /bank/_search
{
  "query": { "match_all": {} },
  "sort": [
    { "account_number": "asc" }
  ]
}
结果

相关字段解释
took– Elasticsearch运行查询所花费的时间(以毫秒为单位)timed_out–搜索请求是否超时_shards- 搜索了多少个碎片,以及成功,失败或跳过了多少个碎片的细目分类。max_score– 找到的最相关文档的分数hits.total.value- 找到了多少个匹配的文档hits.sort- 文档的排序位置(不按相关性得分排序时)hits._score- 文档的相关性得分(使用match_all时不适用)
3.2 分页查询(from+size)
本质上就是from和size两个字段
GET /bank/_search
{
  "query": { "match_all": {} },
  "sort": [
    { "account_number": "asc" }
  ],
  "from": 10,
  "size": 10
}
结果

3.3 指定字段查询:match
如果要在字段中搜索特定字词,可以使用match; 如下语句将查询address 字段中包含 mill 或者 lane的数据
GET /bank/_search
{
  "query": { "match": { "address": "mill lane" } }
}
结果

(由于ES底层是按照分词索引的,所以上述查询结果是address 字段中包含 mill 或者 lane的数据)
3.4 查询段落匹配:match_phrase
如果我们希望查询的条件是 address字段中包含 "mill lane",则可以使用match_phrase
GET /bank/_search
{
  "query": { "match_phrase": { "address": "mill lane" } }
}
结果

3.5 多条件查询: bool
如果要构造更复杂的查询,可以使用bool查询来组合多个查询条件。
例如,以下请求在bank索引中搜索40岁客户的帐户,但不包括居住在爱达荷州(ID)的任何人
GET /bank/_search
{
  "query": {
    "bool": {
      "must": [
        { "match": { "age": "40" } }
      ],
      "must_not": [
        { "match": { "state": "ID" } }
      ]
    }
  }
}
结果

must, should, must_not 和 filter 都是bool查询的子句。那么filter和上述query子句有啥区别呢?
3.6 查询条件:query or filter
先看下如下查询, 在bool查询的子句中同时具备query/must 和 filter
GET /bank/_search
{
  "query": {
    "bool": {
      "must": [
        {
          "match": {
            "state": "ND"
          }
        }
      ],
      "filter": [
        {
          "term": {
            "age": "40"
          }
        },
        {
          "range": {
            "balance": {
              "gte": 20000,
              "lte": 30000
            }
          }
        }
      ]
    }
  }
}
结果

两者都可以写查询条件,而且语法也类似。区别在于,query 上下文的条件是用来给文档打分的,匹配越好 _score 越高;filter 的条件只产生两种结果:符合与不符合,后者被过滤掉。
所以,我们进一步看只包含filter的查询
GET /bank/_search
{
  "query": {
    "bool": {
      "filter": [
        {
          "term": {
            "age": "40"
          }
        },
        {
          "range": {
            "balance": {
              "gte": 20000,
              "lte": 30000
            }
          }
        }
      ]
    }
  }
}
结果,显然无_score

4. 聚合查询:Aggregation
我们知道SQL中有group by,在ES中它叫Aggregation,即聚合运算。
4.1 简单聚合
比如我们希望计算出account每个州的统计数量, 使用aggs关键字对state字段聚合,被聚合的字段无需对分词统计,所以使用state.keyword对整个字段统计
GET /bank/_search
{
  "size": 0,
  "aggs": {
    "group_by_state": {
      "terms": {
        "field": "state.keyword"
      }
    }
  }
}
结果

因为无需返回条件的具体数据, 所以设置size=0,返回hits为空。
doc_count表示bucket中每个州的数据条数。
4.2 嵌套聚合
ES还可以处理个聚合条件的嵌套。
比如承接上个例子, 计算每个州的平均结余。涉及到的就是在对state分组的基础上,嵌套计算avg(balance):
GET /bank/_search
{
  "size": 0,
  "aggs": {
    "group_by_state": {
      "terms": {
        "field": "state.keyword"
      },
      "aggs": {
        "average_balance": {
          "avg": {
            "field": "balance"
          }
        }
      }
    }
  }
}
结果

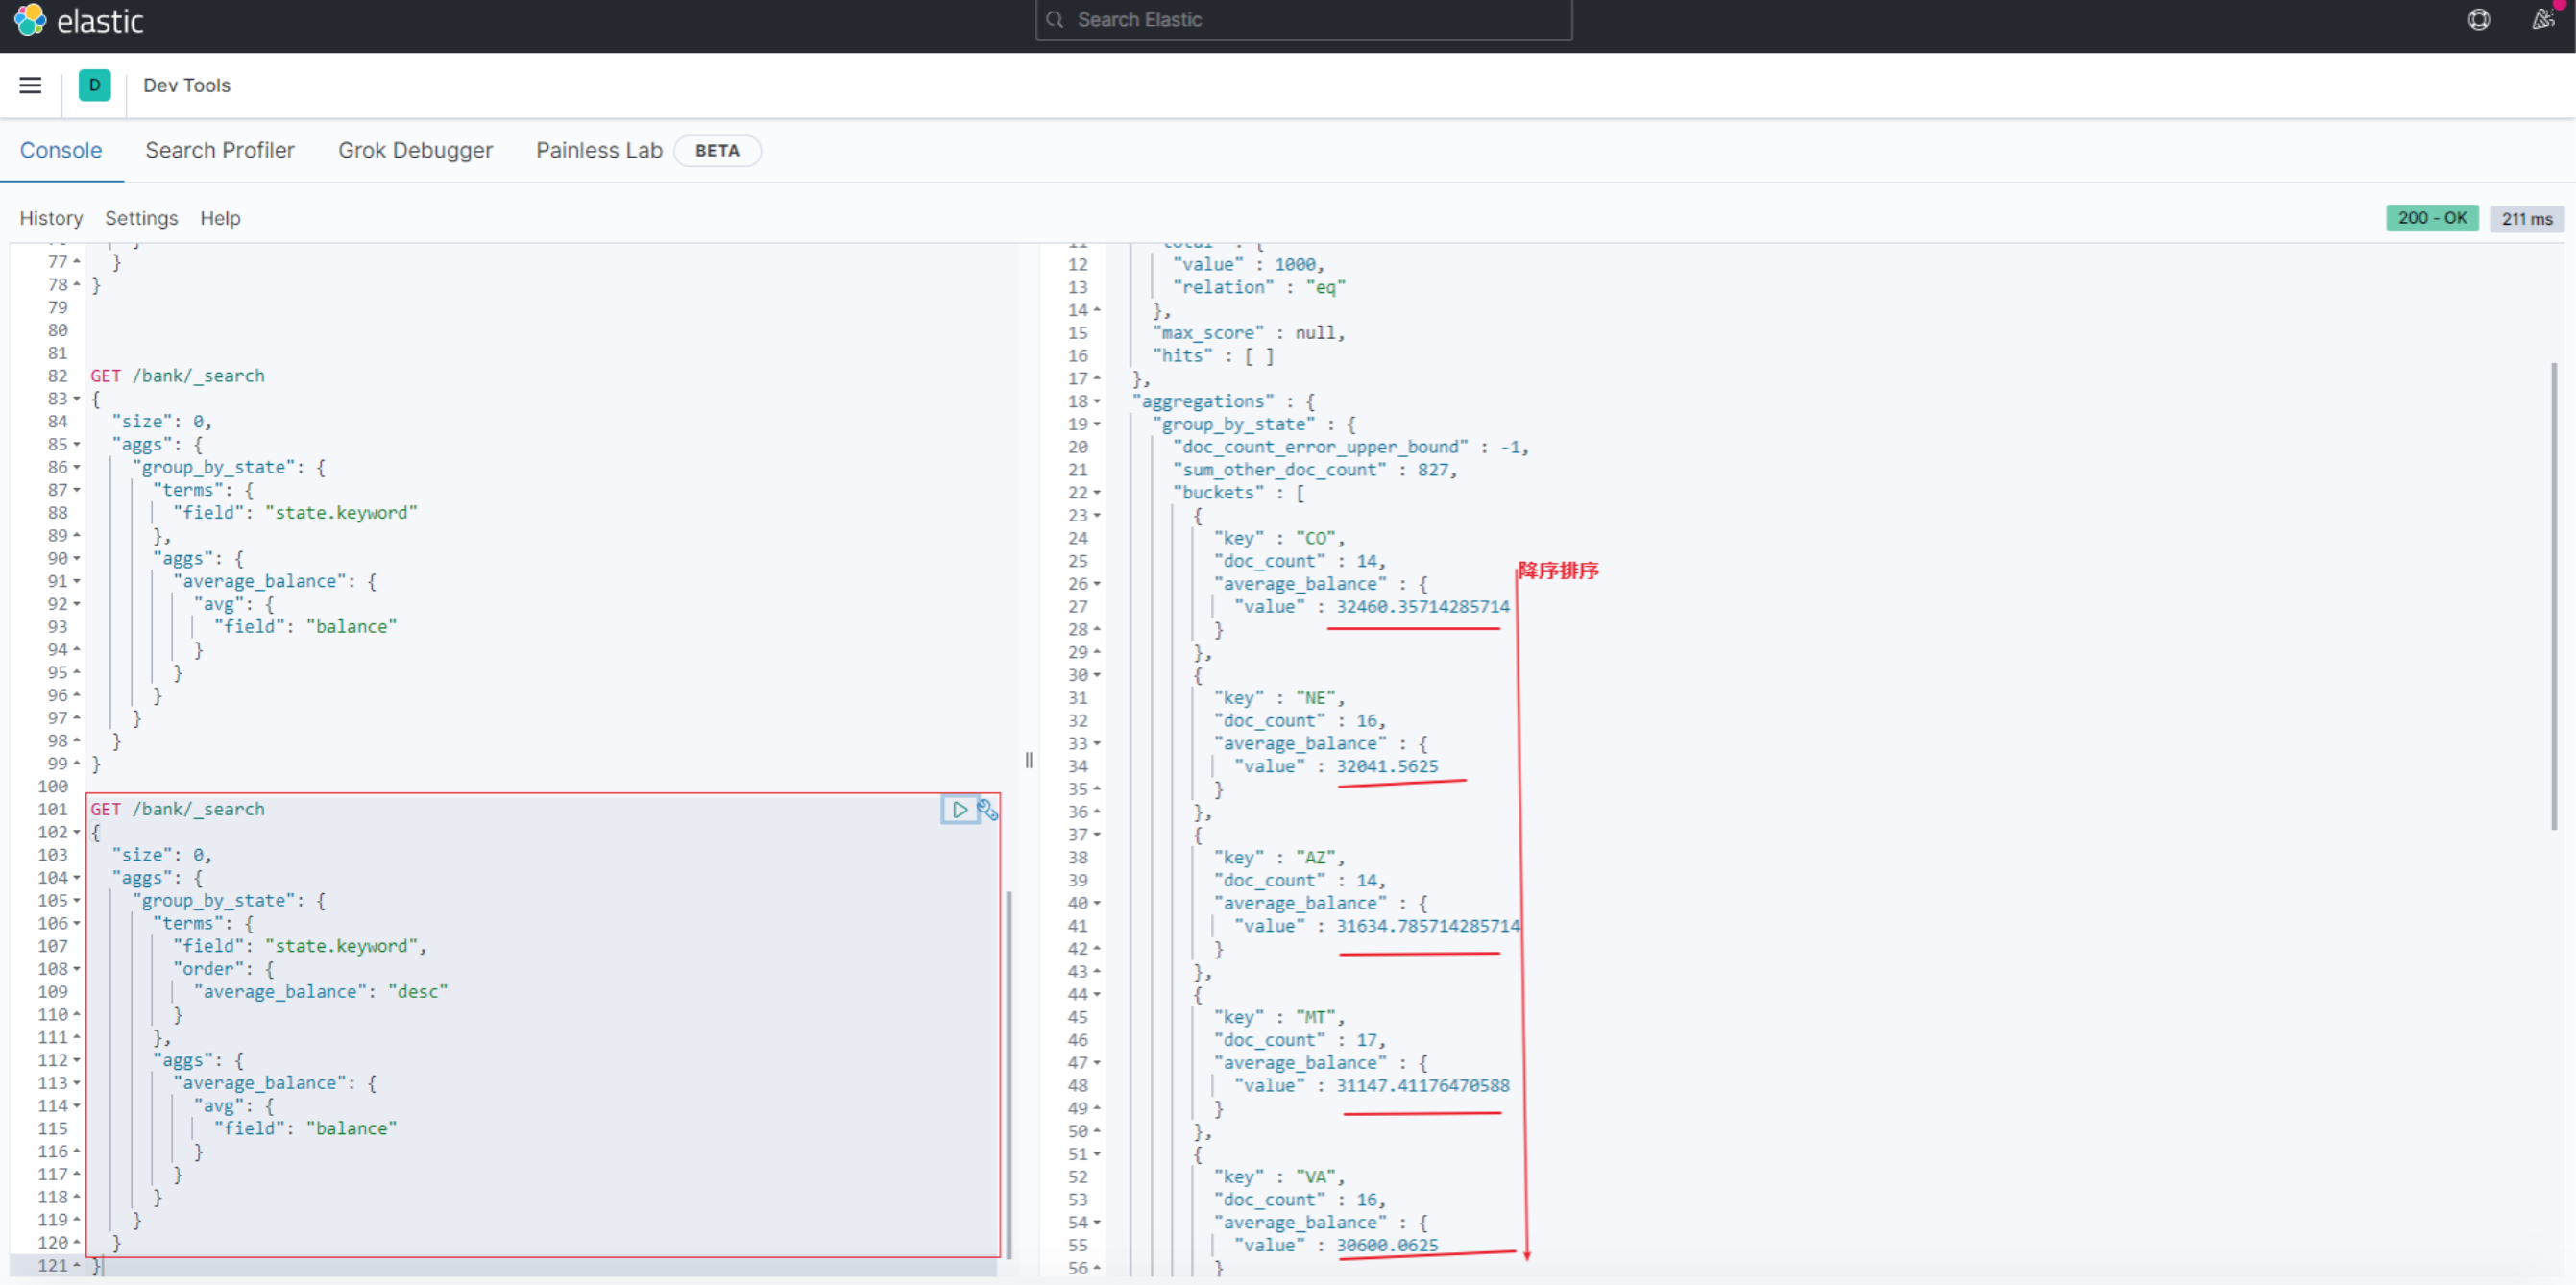
4.3 对聚合结果排序
可以通过在aggs中对嵌套聚合的结果进行排序
比如承接上个例子, 对嵌套计算出的avg(balance),这里是average_balance,进行排序
GET /bank/_search
{
  "size": 0,
  "aggs": {
    "group_by_state": {
      "terms": {
        "field": "state.keyword",
        "order": {
          "average_balance": "desc"
        }
      },
      "aggs": {
        "average_balance": {
          "avg": {
            "field": "balance"
          }
        }
      }
    }
  }
}
结果


